

How To Install Jboss On Ubuntu
Install JBoss Wildfly on Ubuntu 18.04
WildFly, formerly known every bit JBoss Every bit, or simply JBoss, is a Java EE certified application server authored by JBoss, at present developed past Red Hat.
Wildfly is a production-set up, cross-platform and open-source application server that is flexible, lightweight and is based on pluggable subsystems that can exist added or removed as needed.
Some of the key features of Wildfly are:
- Incredible Spider web Performance and Scalability
- Efficient Memory Management
- Slim and Customizable Runtime
- Powerful Server Administration
- Unified Configuration & Management
- Domain & Standalone Operational Modes
- Concurrent and Fast Classloading
- Full Java EE 8 Support
In this tutorial, we volition go through the process of setting upwardly the Wildfly server on Ubuntu 18.04. And then let us begin.
Step 1 — Install JDK
Wildfly requires Java 8 or later versions to work. You tin check and verify that Coffee is installed with the following command.
$ java -version If java is non installed, you will encounter "java: command not found" . Run below commands to install Java.
$ sudo apt-get update $ sudo apt-go install default-jdk -y
After installation, bank check if java is installed correctly past executing below command
$ coffee -version 
If Java is installed, the output should await similar to above depending upon what is the latest version of coffee at that fourth dimension.
Step 2 — Download and Extract Wildfly Server
Cheque Wildlfy downloads page for latest releases before downloading. For this tutorial, we will download Wildfly sixteen.0.0.Final (Coffee EE Full & Spider web Distribution).
Nosotros are going to install Wildfly to /opt/ directory, so we volition download the Wildfly package to that location.
Modify directory to /opt/ and download Wildfly to that directory.
$ cd /opt $ sudo wget https://download.jboss.org/wildfly/16.0.0.Final/wildfly-16.0.0.Terminal.tar.gz
Excerpt the tar package and rename the extracted directory to wildfly. This will be Wildfly'south installation directory
$ sudo tar -xvzf wildfly-xvi.0.0.Final.tar.gz $ sudo mv wildfly-16.0.0.Last /opt/wildfly
Step 3 — Create User and Group for Wildfly
We should not run Wildfly under the root user for security reasons. Let's create a grouping wildfly and add together a user wildfly to it.
Additionally, the home directory of wildfly user will be the Wildfly'due south installation directory i.e. /opt/wildfly/ .
$ sudo groupadd wildfly $ sudo useradd -r -g wildfly -d /opt/wildfly -s /sbin/nologin wildfly
Footstep 4 — Change Permission and Ownership of the Wildfly Installation Directory
Side by side, we will alter ownership and permission of /opt/wildfly/ directory. We will as well requite executable permissions to / opt/wildfly/bin/ directory. While under /opt/ directory, run the following commands:
$ sudo chown -R wildfly: wildfly $ sudo chmod o+x /opt/wildfly/bin/
Step five — Creating a SystemD Service File for Wildfly
Create a configuration directory for Wildfly under /etc/ directory by the name wildfly.
$ cd /etc/ $ sudo mkdir wildfly
Re-create Wildfly configuration file /opt/wildfly/docs/contrib/scripts/systemd/wildfly.conf to /etc/wildfly/ directory
$ sudo cp /opt/wildfly/docs/contrib/scripts/systemd/wildfly.conf /etc/wildfly/ Next, copy Wildfly launch script ( launch.sh ) nether /opt/wildfly/docs/contrib/scripts/systemd/ to /opt/wildfly/bin/ directory
$ sudo cp /opt/wildfly/docs/contrib/scripts/systemd/launch.sh /opt/wildfly/bin/ We need to brand wildfly user as the possessor of this script and then that it can execute information technology:
$ sudo chown wildfly: /opt/wildfly/bin/launch.sh Now, re-create service definition file ( wildfly.service ) under /opt/wildfly/docs/contrib/scripts/systemd/ to /etc/systemd/system/ directory
$ sudo cp /opt/wildfly/docs/contrib/scripts/systemd/wildfly.service /etc/systemd/system/ Open wildfly.service in an editor
$ sudo nano /etc/systemd/organisation/wildfly.service Make the changes marked as bold or you can only copy/paste the below content as it is.
            [Unit]            Description=The WildFly Awarding Server
Subsequently=syslog.target network.target
Before=httpd.service            [Service]            Environment=LAUNCH_JBOSS_IN_BACKGROUND=ane
EnvironmentFile=-/etc/wildfly/wildfly.conf
User=wildfly
              Group=wildfly
LimitNOFILE=102642
PIDFile=/var/run/wildfly/wildfly.pid
ExecStart=/opt/wildfly/bin/launch.sh $WILDFLY_MODE $WILDFLY_CONFIG $WILDFLY_BIND
StandardOutput=nada            [Install]            WantedBy=multi-user.target
Save and exit the file.
Reload systemd director configuration and enable wildfly service on system startup
$ sudo systemctl daemon-reload $ sudo systemctl enable wildfly
To start wildfly system service:
$ sudo systemctl start wildfly Once the service is started, nosotros can bank check the status past running below command:
$ sudo systemctl status wildfly If the service started successfully, we should run across something similar below:

The Active status, as highlighted, above verifies that the service is up and running.
We tin can besides tail the Wildfly server logs with below control:
$ sudo tail -f /opt/wildfly/standalone/log/server.log 
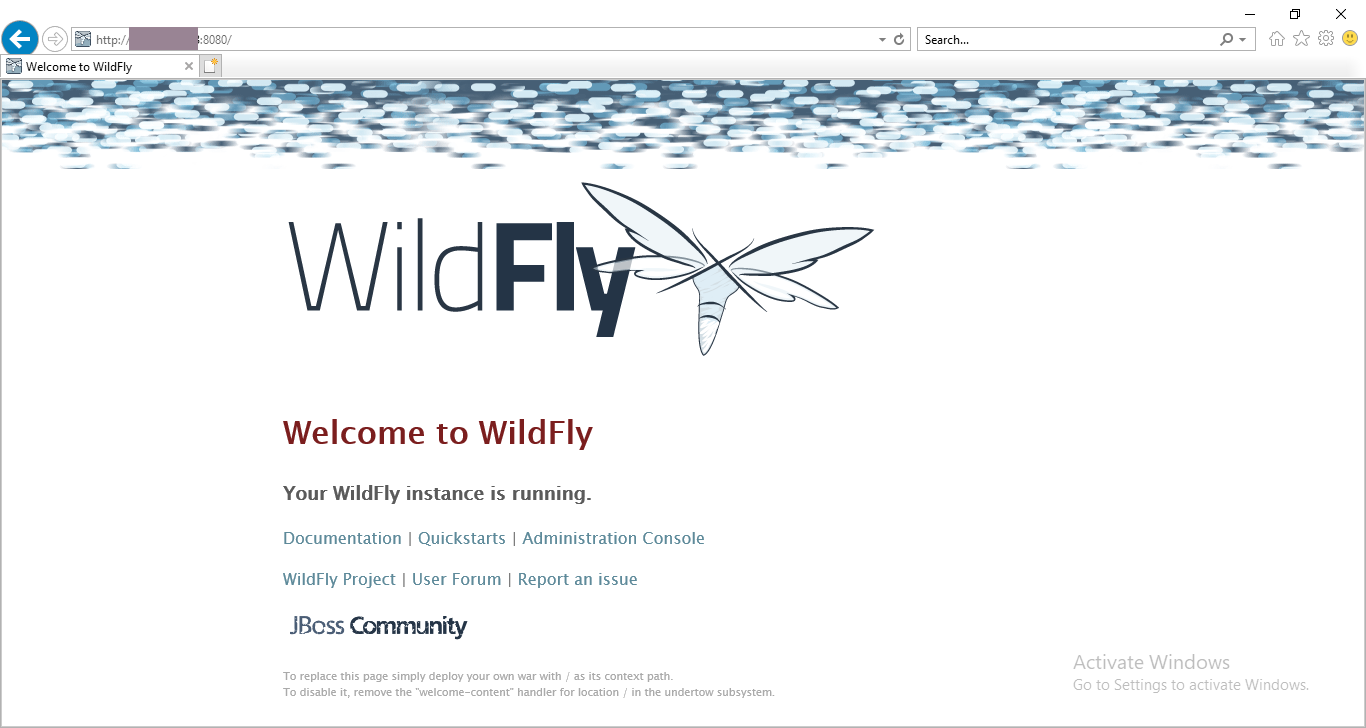
Now admission Wildfly server at:
http:// <instance-public-ip> :8080/
Step eight — Configure Wildfly Management Console
The Wildfly direction console allows the states to manage unlike aspects of the Wildfly server. e.g. configuring subsystems, server monitoring, managing deployments or access control.
By default, the management console is not made attainable remotely. To make it accessible remotely, we have to brand small changes in three files. So let's offset
Open up wildfly.conf file under /etc/wildfly/ directory
$ sudo nano /etc/wildfly/wildfly.conf Add a line at the terminate equally shown beneath:
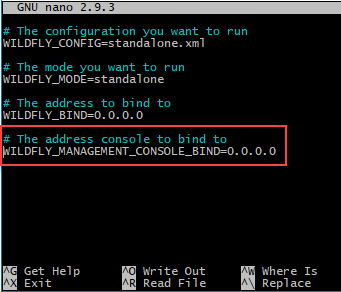
Save and go out the file.
At present open up launch.sh in /opt/wildfly/bin/ directory and change its contents equally shown below:
$ sudo nano /opt/wildfly/bin/launch.sh 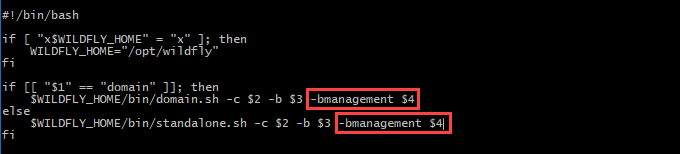
Save and leave the file
Finally, open Wildfly's system service definition file ( wildfly.service ) under /etc/systemd/system/ and make the changes as shown below:
$ sudo nano /etc/systemd/system/wildfly.service 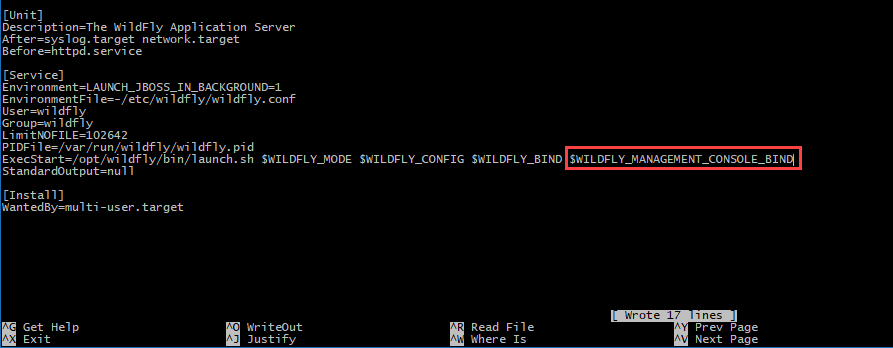
Save and exit the file
Since nosotros have changed the service unit of measurement file, we have to inform the systemd manager
$ sudo systemctl daemon-reload Now restart the wildfly service
$ sudo systemctl restart wildfly Once restarted, Access the Wildfly management console at:
http://<instance-public-ip>:9990
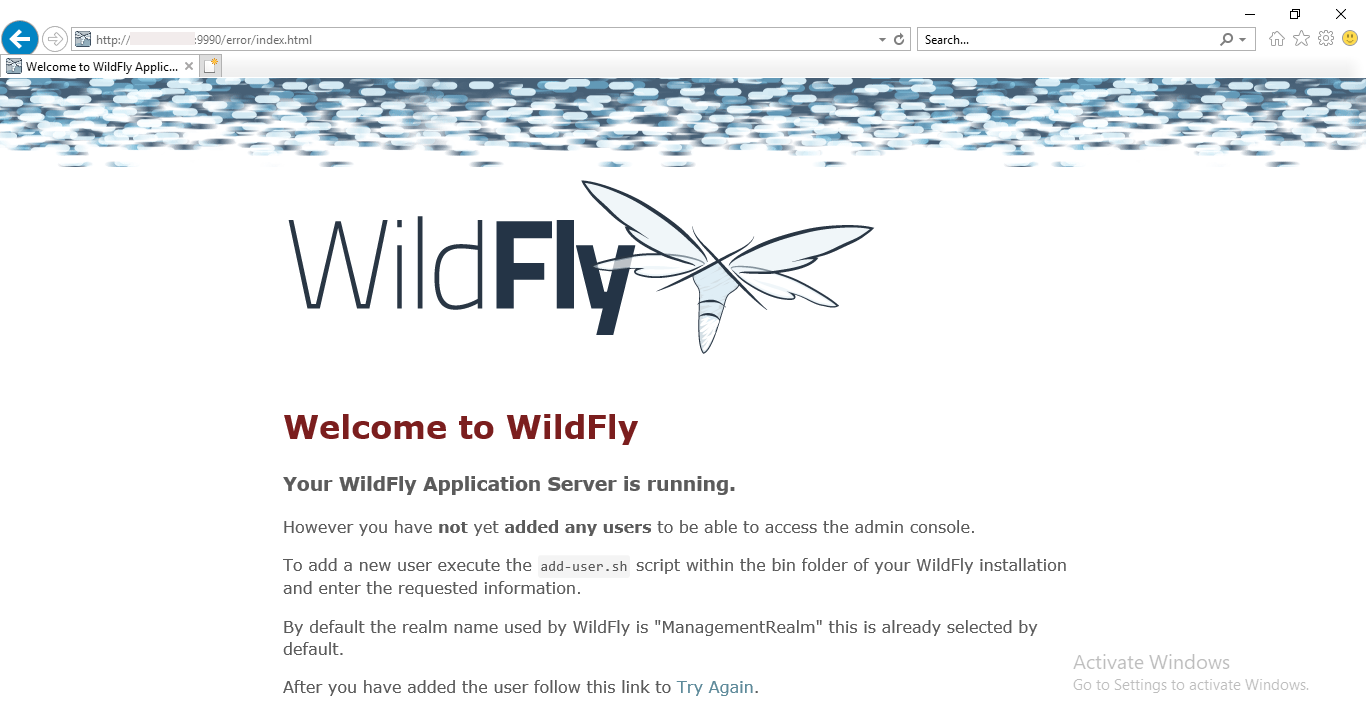
We can successfully access the management console but as shown above, we need a direction user to login.
Nosotros can use the add-user.sh script, packaged with Wildfly server distribution, to create a management user. Run the script with below command:
$ sudo /opt/wildfly/bin/add together-user.sh 
In one case prompted, select to add together a management user and provide your desired username and password.
In the last prompt, for enabling remote access for this user write yes or y .
Later on providing the required data, the script will verify the user cosmos as shown above.
We demand to restart Wildfly server and then our user is picked up during boot.
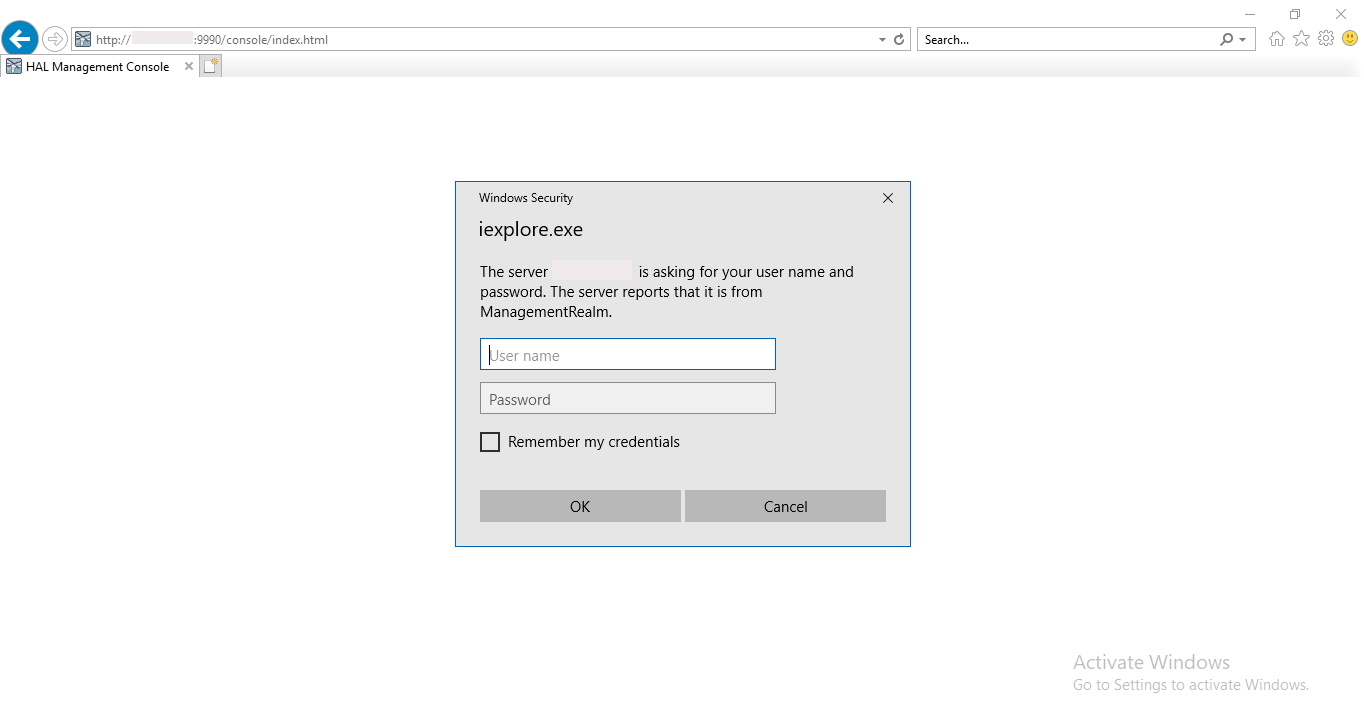
$ sudo systemctl restart wildfly Now if we access the management panel again, information technology will prompt for HTTP basic say-so.
Provide the management user credentials that nosotros created above and click 'ok':
Once successfully logged in, we country inside the direction console


Source: https://medium.com/@hasnat.saeed/install-jboss-wildfly-on-ubuntu-18-04-ac00719a2f02
Posted by: hendersontriessir1989.blogspot.com
0 Response to "How To Install Jboss On Ubuntu"
Post a Comment